Gluten-Free Victoria Sponge Recipe, Light, Soft, and Foolproof
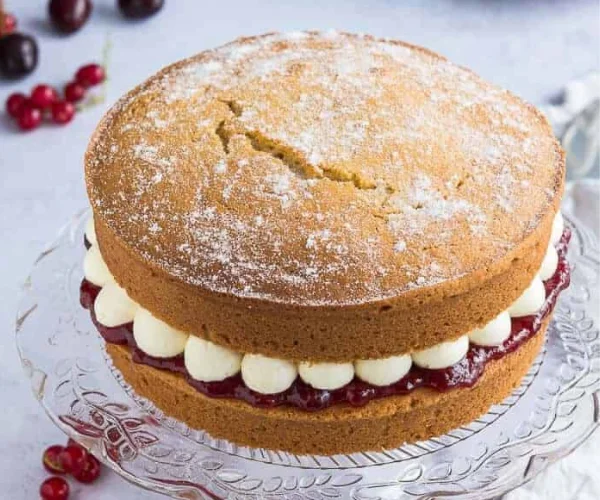
With this gluten-free Victoria Sponge Recipe, you don’t have to miss out on the classic British cake because you are gluten-free. Cooks up into two light, tender layers of gluten-free self-raising flour cake stuffed with jam and cream – it’s just as delicious as the regular one. Gluten free baking has progressed significantly, and with a simple flour blend and a few helpful tips, you can create an airy and soft crumb that’s free from grittiness and dryness. This recipe is simple enough for anyone new to gluten-free baking and will be a favourite of gluten-free & gluten-sensitive people alike! The secret is to use a good gluten-free self-raising blend and add a little extra moisture, as gluten-free flours are more watery. Those little changes make a beautiful sponge, and it remains soft; no one at the table will know it’s gluten-free. You’ll find the full ingredients, a clear method, some tips to help make your gluten-free sponge light and fluffy, variations, storage tips, and answers to the most frequently asked questions about baking gluten-free sponges.
Why You’ll Love This Recipe
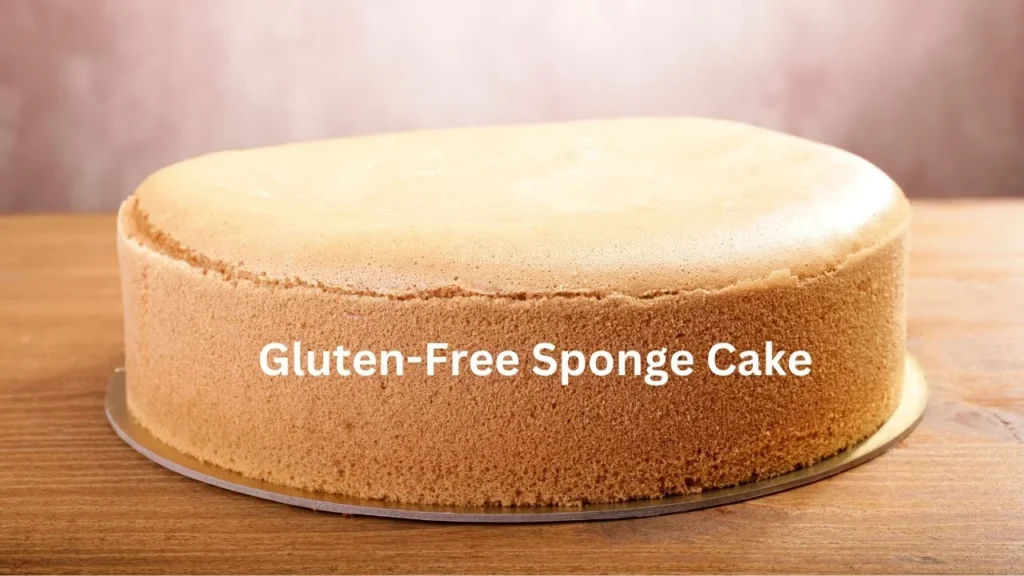
This recipe delivers a genuinely light, classic-tasting sponge without any gluten.
Whether you bake gluten-free every day or just want to include a guest with dietary needs, this sponge lets everyone enjoy a proper slice of a British favourite without compromise.
Ingredients You Will Need
For the Sponge
For the Filling
Key Ingredient Notes
Gluten-free self-raising flour is the foundation of this recipe. Choose a good blend designed for cakes, ideally one that combines rice flour with other flours and starches for a smoother texture. A single flour, such as plain rice flour, on its own will give a dense, gritty result. Xanthan gum replaces the elasticity that gluten would normally provide, helping to bind the crumb so the sponge is not crumbly. Many gluten-free blends already contain it, so check the packet first and only add extra if it is not included.
The milk is important here because gluten-free flours absorb more liquid than wheat flour. Adding a couple of tablespoons keeps the sponge soft and moist rather than dry, which is one of the most common gluten-free baking problems. As with any Victoria sponge, use room-temperature butter and eggs so the batter blends smoothly and traps plenty of air for a light rise. A good fruity jam and softly whipped cream complete the classic filling.
Equipment You Will Need
No special equipment is needed to bake this gluten-free sponge. Grease and line your tins as usual, and preheat the oven fully before mixing. It also helps to let the batter rest briefly before baking, which gives the gluten-free flour time to hydrate for a softer crumb.
How to Make Gluten Free Victoria Sponge
- Precisely heat the oven up to 180°C (160°C fan / Gas 4). Line and butter 2 20 cm sandwich tins.
- Combine the soft butter and caster sugar until it is light and fluffy. Add in the eggs, one at a time, and beat them in, adding vanilla extract.
- Add gluten-free self-raising flour, baking powder and xanthan gum (optional) to the mixture and blend together, then add the milk. Combine to make the batter.
- Fill the batter in tins evenly and make the top surface level. It’s best to wait for 10 minutes to moisten the flour before removing the tins.
- Bake for 22-25 minutes or until the tops are golden brown, springy, and dry through to the center with a toothpick.
- Place the sponges in the tins for 5 minutes to cool, then place on a cooling rack. Take out the paper and allow it to cool down completely.
- Smear the jam onto one sponge, add the creamy layer, then the other sponge, and sprinkle some icing sugar.
Expert Tips
Add the Milk for Moisture
Gluten-free flour absorbs more liquid, so the milk is essential to keep the crumb soft. Skipping it is the most common reason a gluten-free sponge turns out dry.
Check Your Flour for Xanthan Gum
Before adding extra xanthan gum, read the flour packet. Too much can make the sponge gummy, so only add it if your blend does not already include it.
Do Not Overbake
Gluten-free sponges dry out faster than wheat ones, so start checking a couple of minutes early and remove the cakes as soon as a skewer comes out clean.
Let the Batter Rest
Allowing the batter to sit for around 10 minutes before baking gives the flour time to absorb the liquid, which improves the texture and reduces any graininess.
Common Mistakes to Avoid
|
Common Mistake |
Why It Happens |
How to Avoid It |
|---|---|---|
|
Using a Single Gritty Flour |
Using plain rice flour or another coarse flour on its own can produce a heavy, dry, and sandy-textured sponge. |
Use a high-quality gluten-free self-raising flour blend that is specially formulated for cakes. |
|
Adding Too Much Xanthan Gum |
Too much xanthan gum makes the sponge dense, chewy, and slightly gummy instead of light and soft. |
Add only the recommended amount of xanthan gum, and only if your flour blend does not already contain it. |
|
Skipping the Rest and Moisture |
Gluten-free batter needs a little extra hydration and resting time to improve texture and prevent a dry, crumbly sponge. |
Add the recommended amount of milk and let the batter rest for a few minutes before baking for a softer, more tender cake. |
Delicious Variations to Try
This gluten-free base is easy to adapt for different flavours and diets.
How to Serve
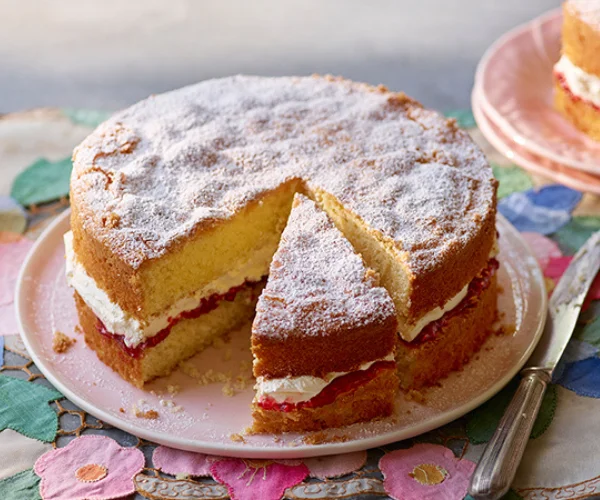
Serve this sponge at room temperature so the crumb is at its softest. If it has been refrigerated, let it stand for 20 to 30 minutes first. Cut into even slices with a sharp knife, and it will look and taste just like a traditional Victoria sponge. It is perfect for afternoon tea, birthdays, and family gatherings, and it means guests with gluten intolerance can enjoy the same cake as everyone else. Pair it with a pot of tea and a few fresh berries for a lovely spread.
How to Store
In the Refrigerator
With fresh cream, store the cake in an airtight container in the fridge and eat within two to three days.
At Room Temperature
A version filled with buttercream keeps at room temperature in an airtight container for up to two days. Keep it well covered, as gluten-free sponge can dry out faster than wheat sponge.
Freezing
The plain gluten-free layers freeze well for up to three months. Wrap them tightly and thaw at room temperature before filling.
Nutritional Information
Nutritional values vary with the flour blend, filling, and slice size. As a general guide, a slice provides around 350 to 430 calories, along with carbohydrates, sugar, and fat. These figures are approximate and intended only as a guide.
Why This Recipe Works
A quality gluten-free self-raising blend combines several flours and starches to mimic the structure of wheat flour, while a little xanthan gum binds the crumb so it holds together neatly rather than falling apart. Together, they give a sponge that is soft and tender instead of dry and crumbly. The extra milk and a short rest before baking allow the gluten-free flour to fully absorb the liquid, which removes any graininess and keeps the sponge moist. Room temperature butter and eggs add the air that keeps the finished cake light and well risen.
Perfect Pairings
This gluten-free sponge is just as versatile as the classic, so it pairs beautifully with all the usual afternoon tea favourites.
With these simple pairings, guests with dietary needs can enjoy exactly the same spread as everyone else at the table.
Can people taste the difference from a normal sponge?
With a good flour blend and the added milk, most people cannot tell the difference. The crumb is soft, and the flavour is classic Victoria sponge, which makes it perfect for serving to mixed groups of guests.
Do I need to prepare the tins differently?
No, grease and line the tins as usual. Lining the bases with baking paper is especially helpful here, as a gluten-free sponge can be a little more delicate to turn out while it is still warm.
Can I use this recipe for a birthday cake?
Absolutely. Fill and stack the layers, add extra buttercream and fresh fruit, and no one will know it is gluten-free. The sponge holds up well and looks just as impressive as a traditional celebration cake.
Make It Ahead
This gluten-free sponge is easy to make ahead. Bake the layers a day in advance and store them well wrapped in an airtight container, as gluten-free cake can dry out faster than wheat cake if left uncovered. Fill with jam and cream on the day of serving for the freshest result. The plain layers freeze well for up to three months. Wrap them tightly to protect the delicate crumb, then thaw at room temperature before filling. This makes it simple to keep a gluten-free option ready for guests at any time.
Extra Tips for a Light Gluten Free Sponge
A few key habits make gluten-free baking far more reliable.
With these steps, your gluten-free sponge will be soft, moist, and hard to tell apart from the classic.
Can I make this dairy-free as well?
Yes. Use a dairy-free baking block in place of butter and a dairy-free cream for the filling to make the cake both gluten-free and dairy-free for guests with either need.
Why is my gluten-free sponge crumbly?
This often means the flour blend lacked a binder. Make sure your flour contains xanthan gum, or add a small amount yourself, so the crumb holds together neatly.
Conclusion
This gluten-free Victoria Sponge Recipe lets everyone enjoy a slice of the British classic. With a light, soft crumb, sweet jam, and cream, it tastes just like the original, and a few simple adjustments are all it takes to get it right. Whether you bake gluten-free by necessity or choice, this foolproof sponge will impress every guest at the table. It is proof that gluten-free baking can be just as delicious and elegant as the traditional version.